Animals · A drawing idea for little artists
How to draw an axolotl: flowing guide and frilled gills
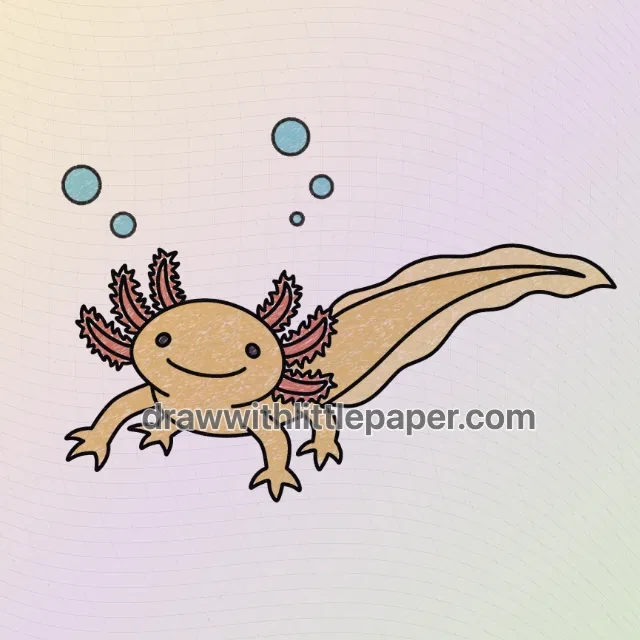
Place a wide head oval above the middle of the page. From beneath it, sketch a light curve that drops down and sweeps to the right to plan the swimming direction.
For iPad & iPhone · In-app purchases
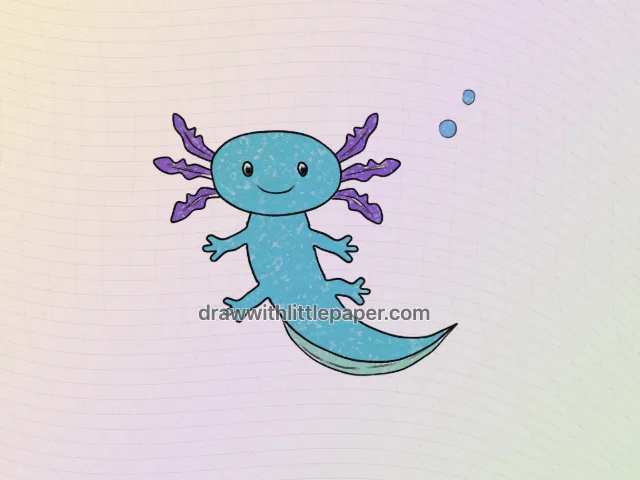
These 3 pictures show selected moments from the drawing. For every step in between and a guide on your canvas, get the full lesson in LittlePaper.
What you will learn
Learn to construct axolotl using a flowing guide and frilled gills. Check that all four limbs attach to the torso. Give every gill branch two edges and some width, leaving small spaces between neighboring branches.
Shapes and proportions
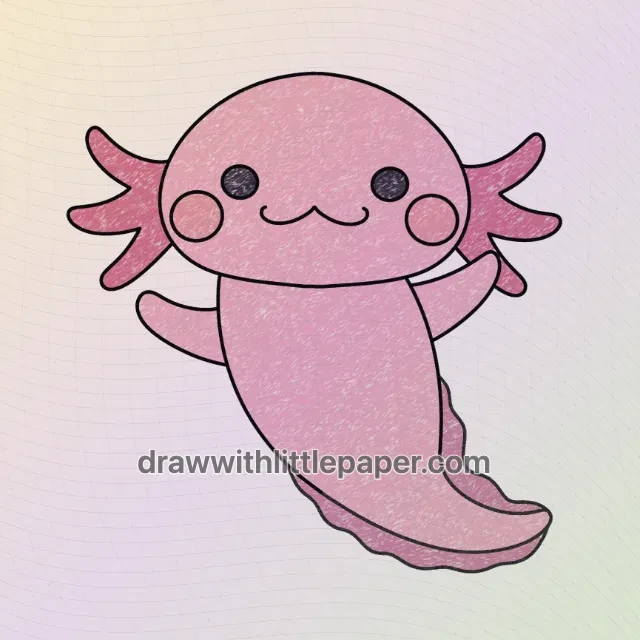
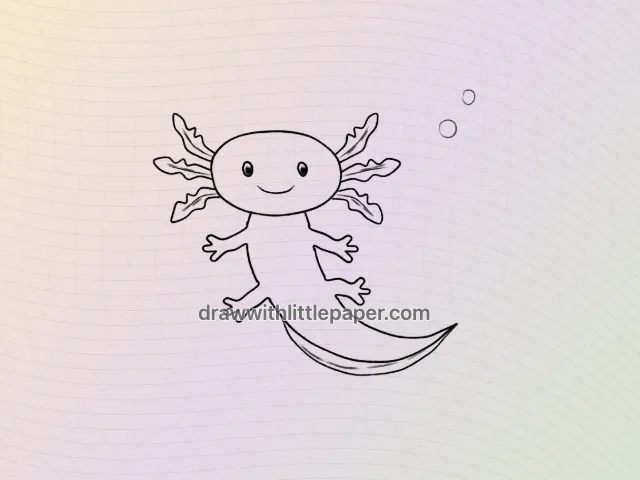
Place a wide head oval above the middle of the page. From beneath it, sketch a light curve that drops down and sweeps to the right to plan the swimming direction. Build the torso around the guide, narrowing gradually toward the tail tip. Attach one pair of short limbs near the head and another pair before the tail narrows. Fan three frilled gill branches from each side of the head, then add the small smile and bubbles.
A common mistake
Attaching a rear foot to the tail or using thin single lines for the gills makes the anatomy confusing.
How to fix it
Check that all four limbs attach to the torso. Give every gill branch two edges and some width, leaving small spaces between neighboring branches.
These three pictures show selected stages, not every intermediate step. The full drawing sequence is available in the named LittlePaper drawing idea.
A few things to start with
Paper, a pencil, eraser, black drawing pen and crayons. Use light guide lines before the final outline.
A little peek at the drawing
1 / 3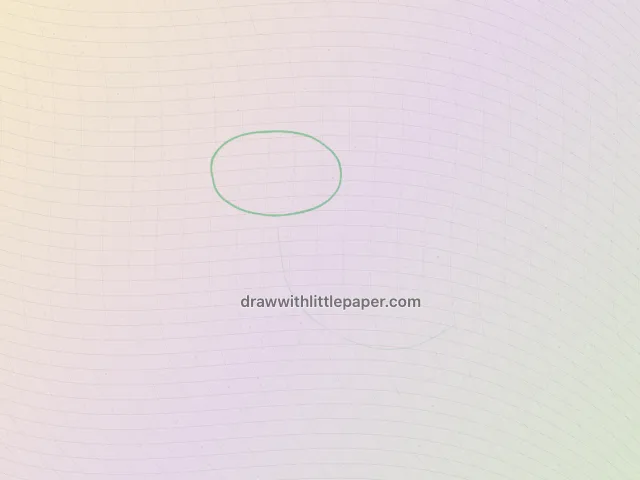
Selected stages · The complete drawing sequence is in the app.
Shapes, character & color
A look at the drawing stages.
Try the shape tips below on paper. When you’re ready to draw along with each small step, continue in LittlePaper.
- 01Selected stage
Plan the starting shapes
Place a wide head oval above the middle of the page. From beneath it, sketch a light curve that drops down and sweeps to the right to plan the swimming direction.
Plan the starting shapes · Preview image 1 of 3 - 02Selected stage
Complete the distinct outline
Build the torso around the guide, narrowing gradually toward the tail tip. Attach one pair of short limbs near the head and another pair before the tail narrows. Fan three frilled gill branches from each side of the head, then add the small smile and bubbles. Check that all four limbs attach to the torso. Give every gill branch two edges and some width, leaving small spaces between neighboring branches.
Complete the distinct outline · Preview image 2 of 3 - 03Selected stage
Add balanced crayon colors
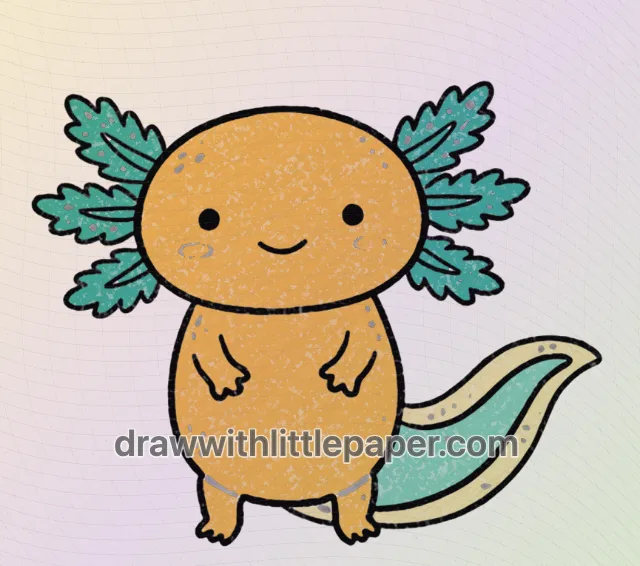
Use lake blue across the head, torso and four limbs, purple on both gill fans, mint green on the tail fin and light blue for the bubbles. The blue palette is a playful color study rather than a natural color reference.
Add balanced crayon colors · Preview image 3 of 3
The next little step is yours
Like the idea?
Let’s make it together.
Open the “Swimming Axolotl with Frilled Gills” drawing idea in LittlePaper for the complete sequence. Follow a guide, pause when you need, and add your own colors.
Download LittlePaper from the App Store, then open the drawing idea inside the app.
Every step, at your pace.
See the full drawing sequence. Pause, replay, and take another look whenever a shape needs practice.
A guide where you draw.
Trace on the canvas, then try your own lines with a finger or Apple Pencil on a compatible iPad.
Make it yours. Keep the making.
Add crayon color, replay your creation, and give your picture a home in a digital 3D book.