Ocean · A drawing idea for little artists
How to Draw a Whale Shark Silhouette
Explore a whale shark silhouette with a long rounded body, paired fins and a split tail. Preview four stages and a blue-gray crayon finish.
For iPad & iPhone · In-app purchases
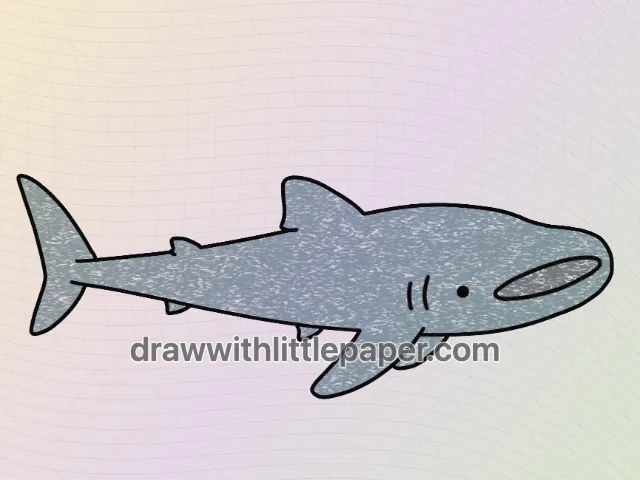
These 4 pictures show selected moments from the drawing. For every step in between and a guide on your canvas, get the full lesson in LittlePaper.
What you will learn
Keep a whale shark silhouette broad at the front and tapered toward the split tail.
Shapes and proportions
Treat the body as one long rounded shape before adding fins. Keep the tail connection narrower than the body and leave space around each fin tip.
A common mistake
Attaching a large tail to a body that never tapers can make the fish look like two unrelated shapes joined together.
How to fix it
Compare the widest part of the body with the tail base. Bring the upper and lower edges closer together gradually before opening them into the two tail lobes.
This stylized whale shark uses a broad rounded front and a narrowing tail connection. The fins interrupt the smooth body outline at different positions, while the split tail gives the narrow rear a clear finish. The example focuses on the silhouette rather than detailed markings.
These four pictures are selected stages, not the complete sequence. The blue guide lines show additions at the illustrated stage. Use the shape notes on paper, or open the full drawing in LittlePaper to follow the smaller steps between these pictures.
A few things to start with
Paper, pencil, blue-gray crayon and a dark drawing pencil.
A little peek at the drawing
1 / 4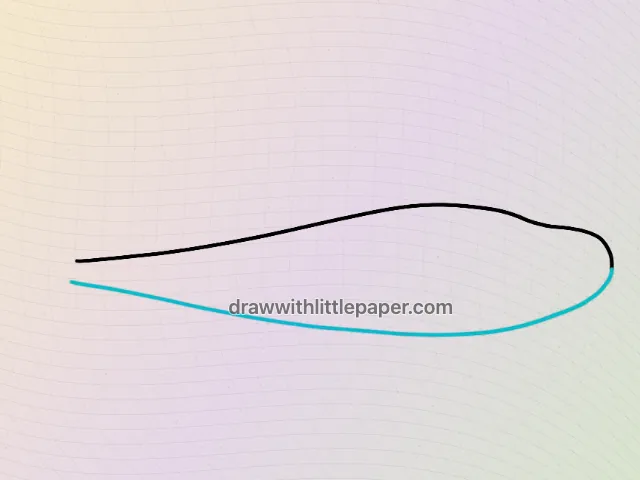
Selected stages · The complete drawing sequence is in the app.
Shapes, character & color
A look at the drawing stages.
Try the shape tips below on paper. When you’re ready to draw along with each small step, continue in LittlePaper.
- 01Selected stage
A long rounded body
The first selected image closes the broad rounded body shape. Keep the front full and leave the rear narrow enough to receive the tail later.
A long rounded body · Preview image 1 of 4 - 02Selected stage
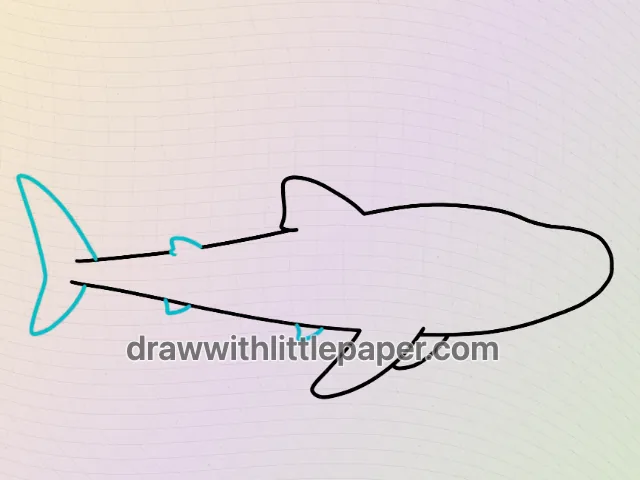
Fins and a split tail
In this later stage, fins project from the body and the rear opens into two tail lobes. Compare the narrow tail connection with the broad front before adding small details.
Fins and a split tail · Preview image 2 of 4 - 03Selected stage
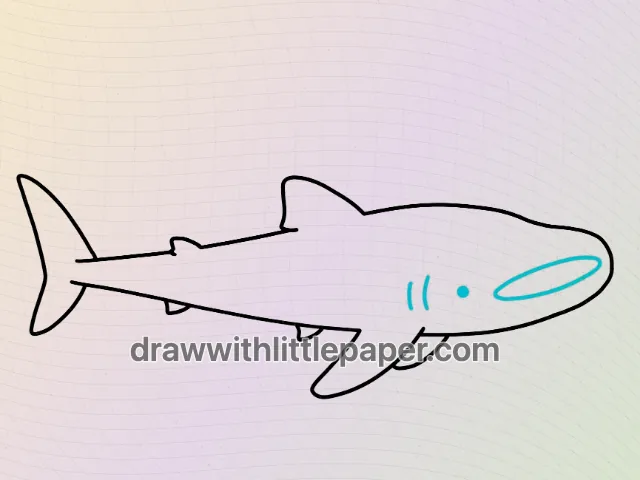
Mouth, eye and gill details
The complete outline adds an oval mouth, a small eye and short gill marks. Keep these dark details separate so they remain readable on the rounded head area.
Mouth, eye and gill details · Preview image 3 of 4 - 04Selected stage
A blue-gray crayon silhouette
Use blue-gray across the body and fins, leaving the mouth and eye dark. Keep the outer shape clean; the lesson demonstrates a simple silhouette rather than detailed natural markings.
A blue-gray crayon silhouette · Preview image 4 of 4
A little practice goes a long way
Make room for your own ideas.
Use a blue-gray body and keep the mouth and eye dark. This simplified example does not include a detailed spot pattern; add personal markings only after the silhouette is clear.
The next little step is yours
Like the idea?
Let’s make it together.
Open the “Whale Shark Drawing” drawing idea in LittlePaper for the complete sequence. Follow a guide, pause when you need, and add your own colors.
Download LittlePaper from the App Store, then open the drawing idea inside the app.
Every step, at your pace.
See the full drawing sequence. Pause, replay, and take another look whenever a shape needs practice.
A guide where you draw.
Trace on the canvas, then try your own lines with a finger or Apple Pencil on a compatible iPad.
Make it yours. Keep the making.
Add crayon color, replay your creation, and give your picture a home in a digital 3D book.