Ocean · A drawing idea for little artists
How to Draw a dolphin: Downward Curve and Rounded Snout
Explore dolphin through four selected drawing stages. Focus on downward curve and rounded snout and a textured crayon finish.
For iPad & iPhone · In-app purchases
These 4 pictures show selected moments from the drawing. For every step in between and a guide on your canvas, get the full lesson in LittlePaper.
What you will learn
Practice dolphin with attention to downward curve and rounded snout.
Shapes and proportions
Follow the arch from the back toward the rounded snout, keeping the belly curve separate.
A common mistake
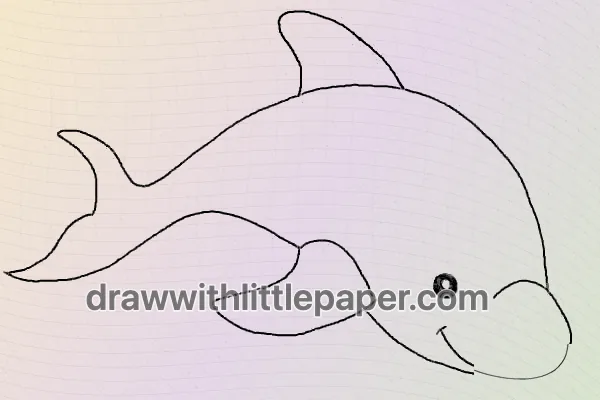
An angular back interrupts the smooth swimming pose.
How to fix it
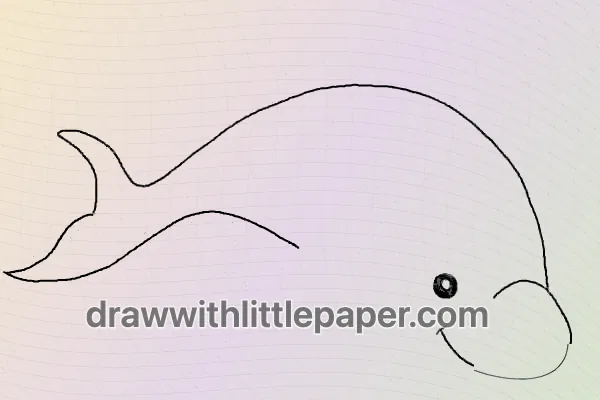
Trace one long back curve lightly before adding the dorsal fin.
This dolphin study focuses on downward curve and rounded snout. Follow the arch from the back toward the rounded snout, keeping the belly curve separate. The exercise is about keeping these visible shapes readable before adding small marks or color.
These are four selected stages, not a complete stroke-by-stroke sequence. Blue guide lines mark additions in the source images. Compare the pictures for the overall shape changes; use the complete LittlePaper lesson for the smaller steps between them.
A few things to start with
Paper, a pencil and crayons matching the example. Leave room around the drawing for proportion checks before making the outlines darker.
A little peek at the drawing
1 / 4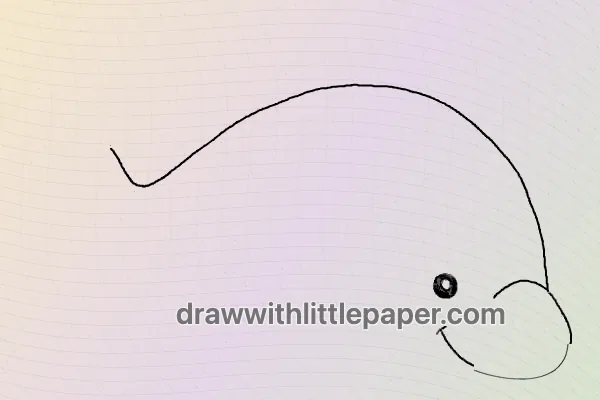
Selected stages · The complete drawing sequence is in the app.
Shapes, character & color
A look at the drawing stages.
Try the shape tips below on paper. When you’re ready to draw along with each small step, continue in LittlePaper.
- 01Selected stage
Selected stage 2: early shapes
This picture shows source stage 2 of 6 for dolphin, not the next single stroke. Follow the arch from the back toward the rounded snout, keeping the belly curve separate. Compare its unfinished edges with the complete outline shown later.
Selected stage 2: early shapes · Preview image 1 of 4 - 02Selected stage
Selected stage 4: building the outline
This picture shows source stage 4 of 6 for dolphin, not the next single stroke. Trace one long back curve lightly before adding the dorsal fin. Compare its unfinished edges with the complete outline shown later.
Selected stage 4: building the outline · Preview image 2 of 4 - 03Selected stage
Complete outline: downward curve and rounded snout
Compare the finished dolphin outline with the earlier selected stages. An angular back interrupts the smooth swimming pose. Trace one long back curve lightly before adding the dorsal fin.
Complete outline: downward curve and rounded snout · Preview image 3 of 4 - 04Selected stage
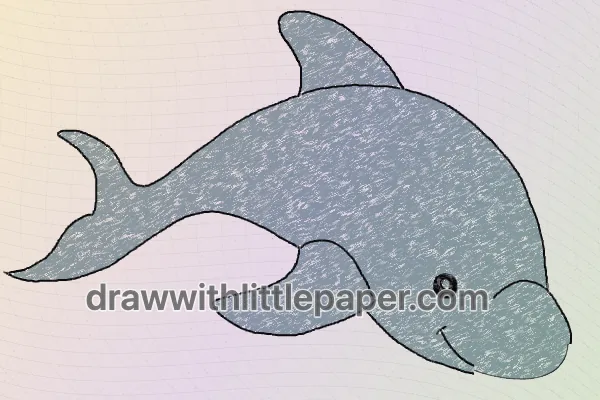
Crayon color: blue-gray
Use the colored dolphin example to compare the palette after checking the outline. The visible palette includes blue-gray. Keep repeated parts consistent and let small light flecks preserve the crayon texture.
Crayon color: blue-gray · Preview image 4 of 4
A little practice goes a long way
Make room for your own ideas.
The example uses blue-gray. Keep matching limbs and repeated parts in a consistent palette. Use light overlapping crayon strokes so the inner outlines stay visible. Trace one long back curve lightly before adding the dorsal fin.
The next little step is yours
Like the idea?
Let’s make it together.
Open the “How to Draw a Dolphin” drawing idea in LittlePaper for the complete sequence. Follow a guide, pause when you need, and add your own colors.
Download LittlePaper from the App Store, then open the drawing idea inside the app.
Every step, at your pace.
See the full drawing sequence. Pause, replay, and take another look whenever a shape needs practice.
A guide where you draw.
Trace on the canvas, then try your own lines with a finger or Apple Pencil on a compatible iPad.
Make it yours. Keep the making.
Add crayon color, replay your creation, and give your picture a home in a digital 3D book.