Animals · A drawing idea for little artists
How to Draw a Rooster for Kids
From one small oval to a proud farmyard bird with a rainbow tail. Take a peek, then follow every little line in the app.
For iPad & iPhone · In-app purchases
These 4 pictures show selected moments from the drawing. For every step in between and a guide on your canvas, get the full lesson in LittlePaper.
A tall neck, a scalloped comb and a sweeping tail give this rooster its proud farmyard pose. The drawing begins with a small oval placed high on the page. That leaves space below for the body and legs, and beside the body for the large tail feathers.
These four pictures show selected stages: the head, the comb, a later body outline and the colorful finish. The big jump to the finished bird includes details not shown individually here. Use this page to notice the main shapes, then continue with the complete sequence in LittlePaper.
A few things to start with
Paper, a pencil, red and yellow crayons, plus blue, green and orange for the tail. There is no need to use every color at once. LittlePaper offers the complete drawing experience on iPad and iPhone.
A little peek at the drawing
1 / 4


Selected stages · The complete drawing sequence is in the app.
Shapes, character & color
A look at the drawing stages.
Try the shape tips below on paper. When you’re ready to draw along with each small step, continue in LittlePaper.
- 01Selected stage
Place a small oval head
The first picture is a small upright oval with plenty of blank space around it. Position it toward the upper part of the page. Resist filling the page with this one shape: the neck, body and tail still need room.
Place a small oval head · Preview image 1 of 4 - 02Selected stage
Add the scalloped comb
Rounded bumps form the comb above the oval. Let them rise high enough to be distinct from the head. Their sizes can vary a little; a soft uneven rhythm suits this friendly farm bird.
Add the scalloped comb · Preview image 2 of 4 - 03Selected stage
Notice the neck, wing and feet
This later outline includes the long neck, pointed beak, hanging wattle, body, wing and little feet. Short pointed curves suggest the neck feathers. The eyes and large tail are not yet complete here; the full lesson shows those additions in sequence.
Notice the neck, wing and feet · Preview image 3 of 4 - 04Selected stage
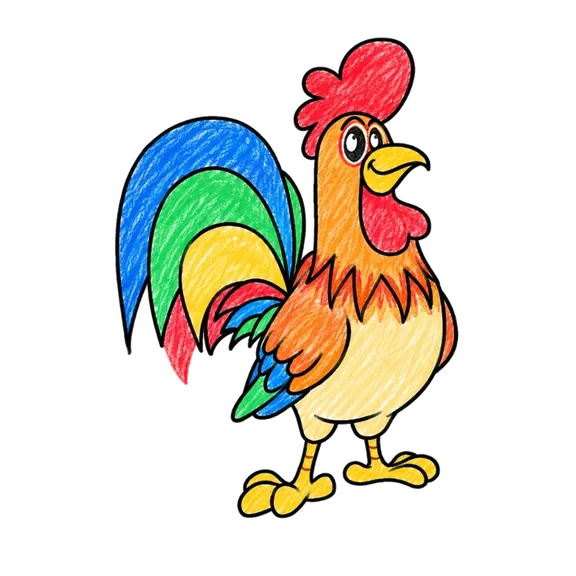
A bright farmyard finish
Red accents the comb and wattle, yellow warms the belly, and broad blue, green, yellow and red shapes fan through the tail. The orange wing stands out against the body. Pick a few favorite colors and keep small white gaps in the crayon strokes.
A bright farmyard finish · Preview image 4 of 4
A little practice goes a long way
Make room for your own ideas.
Keep the first oval small enough to leave room for the comb above it. The rooster grows much larger than this starting shape.
Use rounded bumps for the comb and a pointed shape for the beak. That contrast makes the head easy to recognize.
Give each large tail feather its own broad color area. Color lightly before pressing harder on a few strokes, and leave the black outline readable.
A few drawing questions
How is this rooster different from the simple chicken drawing?
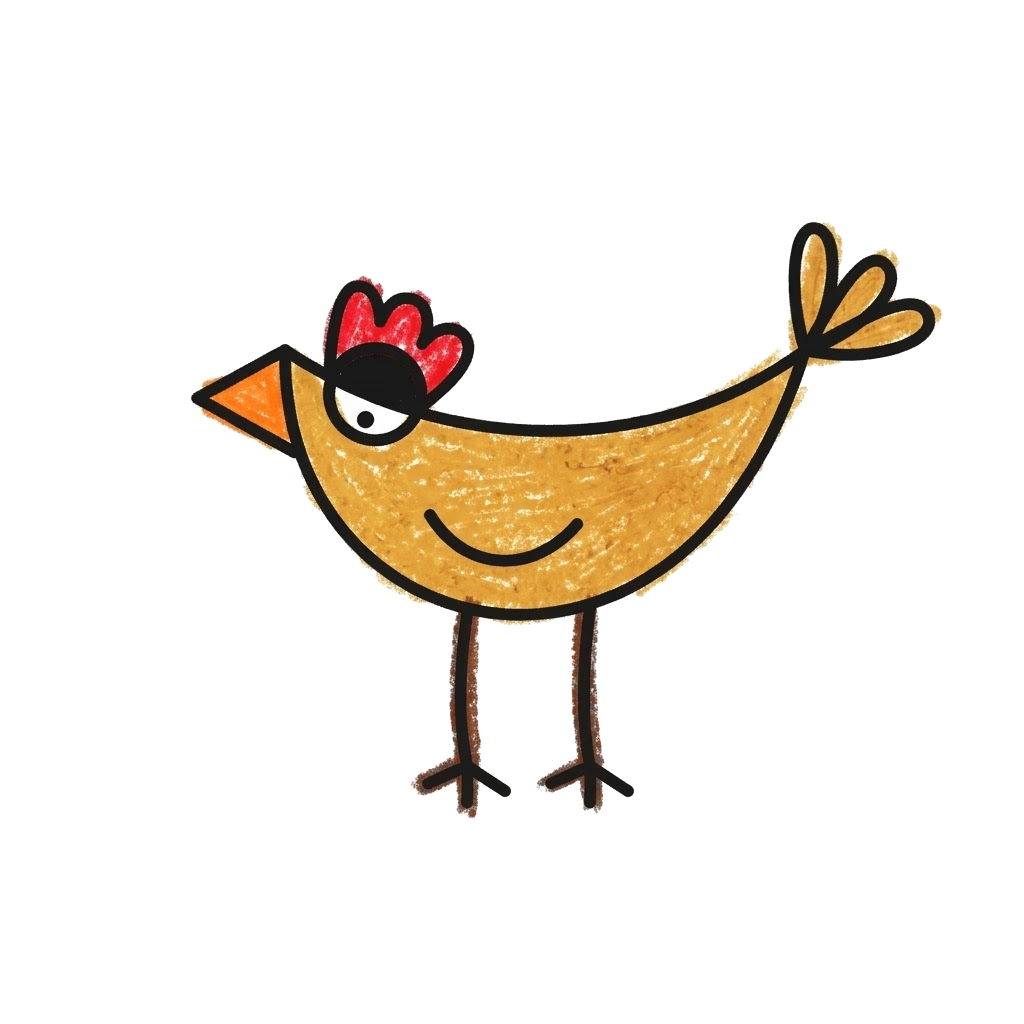
This design has a taller neck, a prominent comb and a large layered tail. The simple chicken preview uses a low rounded body and fewer big shapes, so you can choose the idea you prefer.
What is an easy way to color the tail?
Choose one color for each large feather shape. Begin with a light layer and add a few darker strokes, leaving the outlines and spaces between the feathers clear.
Where are the missing rooster drawing stages?
This page shares four selected pictures. The smaller steps between them are part of the full guided drawing experience in LittlePaper.
The next little step is yours
Like the idea?
Let’s make it together.
Open this drawing idea in LittlePaper for the complete sequence. Follow a guide, pause when you need, and add your own colors.
Download LittlePaper from the App Store, then open the drawing idea inside the app.
Every step, at your pace.
See the full drawing sequence. Pause, replay, and take another look whenever a shape needs practice.
A guide where you draw.
Trace on the canvas, then try your own lines with a finger or Apple Pencil on a compatible iPad.
Make it yours. Keep the making.
Add crayon color, replay your creation, and give your picture a home in a digital 3D book.