Animals · A drawing idea for little artists
How to Draw a Cute Reindeer for Kids
Two simple ovals become a little reindeer with branchy antlers and a bright red nose. A cozy winter drawing idea.
For iPad & iPhone · In-app purchases
These 3 pictures show selected moments from the drawing. For every step in between and a guide on your canvas, get the full lesson in LittlePaper.
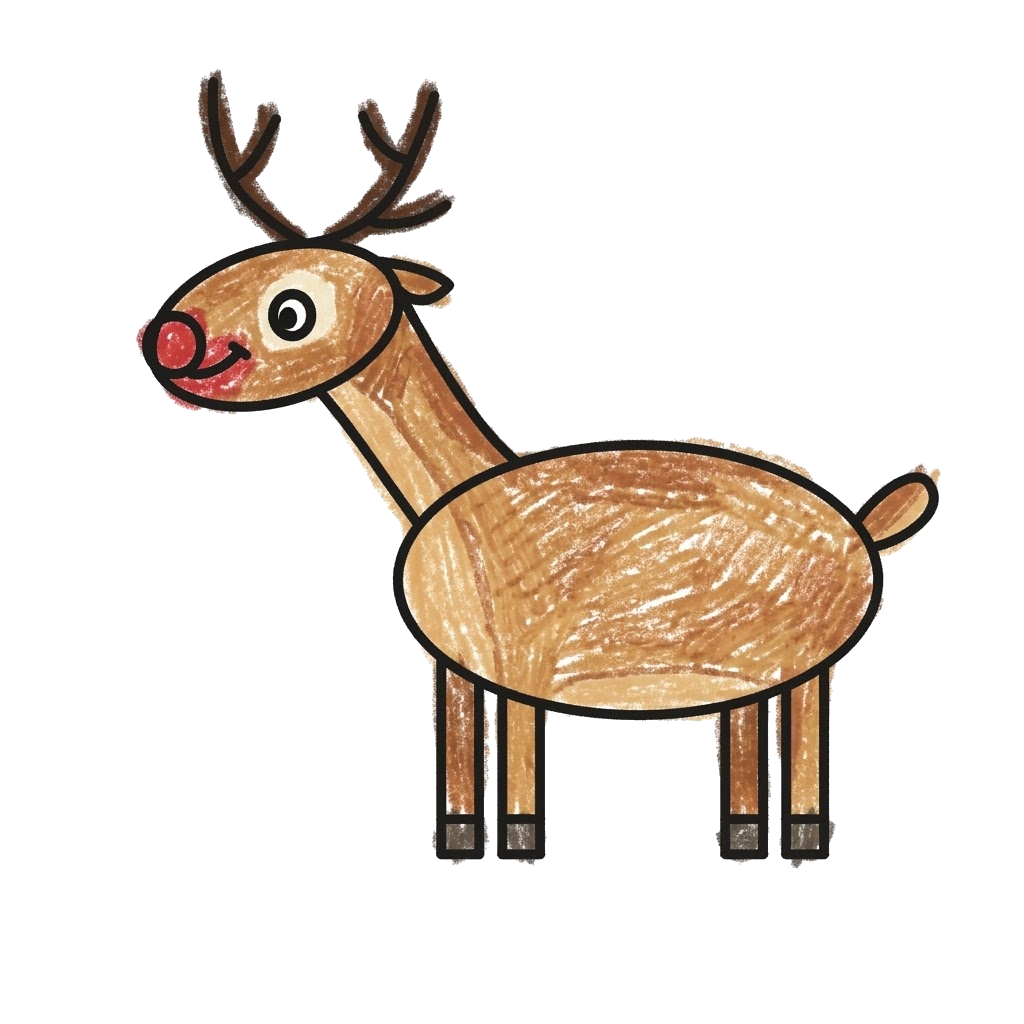
This little reindeer is built around two ovals: a long body and a smaller tilted head. Thin legs, branching antlers and a red nose turn those plain shapes into a friendly winter character. The side view keeps the main parts easy to separate.
The three selected pictures show the body oval, the separate head shape and the finished crayon drawing. There are several connecting steps between the second and third images. Leave space between the ovals for the neck, above the head for antlers and below the body for legs. Find the complete sequence in LittlePaper.
A few things to start with
Paper, a pencil, light and dark brown crayons, and red for the nose. This drawing can become the front of a winter or Christmas card. For a digital page, draw along in LittlePaper on iPad or iPhone.
A little peek at the drawing
1 / 3

Selected stages · The complete drawing sequence is in the app.
Shapes, character & color
A look at the drawing stages.
Try the shape tips below on paper. When you’re ready to draw along with each small step, continue in LittlePaper.
- 01Selected stage
A long oval for the body
Draw a horizontal oval with room underneath it for the legs. Place it a little to one side so the head and neck can extend beyond the front. This is a body guide, so avoid adding small fur details yet.
A long oval for the body · Preview image 1 of 3 - 02Selected stage
Place the tilted head
A smaller oval appears above and to the side of the body. Leave a gap between the two shapes for the neck. The head has a gentle tilt rather than exactly matching the body angle, giving the pose a curious look.
Place the tilted head · Preview image 2 of 3 - 03Selected stage
A brown reindeer with a red nose
The finished example connects the head and body with a narrow neck and adds long legs, a little tail and branching antlers. Brown crayon gives the body texture; a red nose adds a bright focal point. Follow the intermediate connections inside LittlePaper.
A brown reindeer with a red nose · Preview image 3 of 3
A little practice goes a long way
Make room for your own ideas.
Tilt the head oval a little while keeping the body oval mostly horizontal. That small difference gives the reindeer a more lively pose.
Keep the antlers simple: a main branch with a few shorter branches is enough. Too many tiny tips can crowd the ears.
Leave gaps between the four legs so they remain readable. Use short brown crayon strokes for the body and save the bright red for the nose.
A few drawing questions
How can I draw simple reindeer antlers?
Think of a short branch with a few smaller branches growing from it. Keep the two antlers similar in size without trying to make every tip identical.
Can this be a Christmas drawing activity?
Yes. The antlers and red nose suit a winter or Christmas card. Leave space beside the reindeer for a greeting, snow dots or a small tree of your own.
Why do the preview pictures jump from ovals to a finished reindeer?
They are selected highlights, not every instruction. The complete LittlePaper sequence includes the connecting neck, legs, antlers and other smaller additions.
The next little step is yours
Like the idea?
Let’s make it together.
Open this drawing idea in LittlePaper for the complete sequence. Follow a guide, pause when you need, and add your own colors.
Download LittlePaper from the App Store, then open the drawing idea inside the app.
Every step, at your pace.
See the full drawing sequence. Pause, replay, and take another look whenever a shape needs practice.
A guide where you draw.
Trace on the canvas, then try your own lines with a finger or Apple Pencil on a compatible iPad.
Make it yours. Keep the making.
Add crayon color, replay your creation, and give your picture a home in a digital 3D book.