Characters · A drawing idea for little artists
How to Draw a Cute Round Monster for Kids
One squashy oval, two curly horns and a very silly smile. Make a friendly monster with colors as playful as its personality.
For iPad & iPhone · In-app purchases
These 4 pictures show selected moments from the drawing. For every step in between and a guide on your canvas, get the full lesson in LittlePaper.
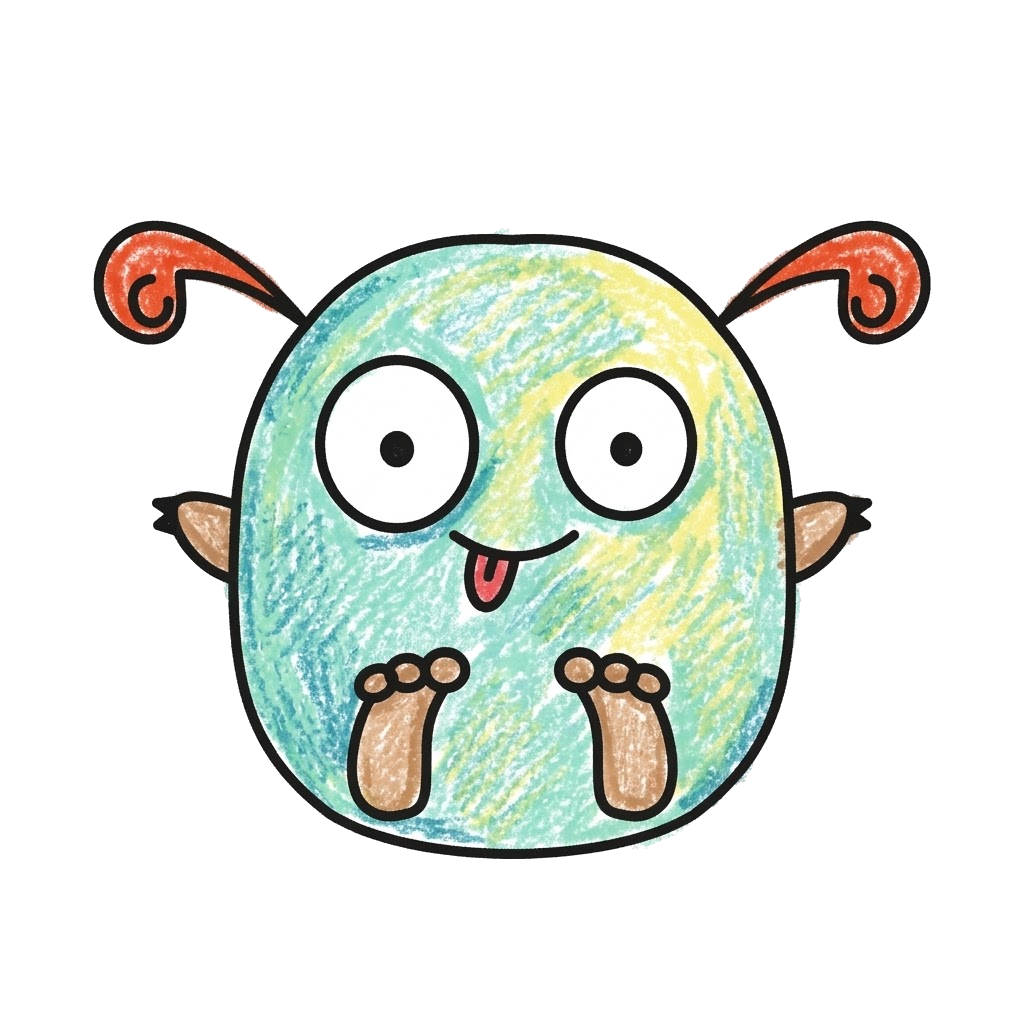
A wide oval becomes a friendly monster when you add giant eyes, curly horns and a little tongue. This design keeps nearly everything inside one squashy body shape, making the outline easy to spot even after the small details arrive. It is a playful character rather than a scary monster.
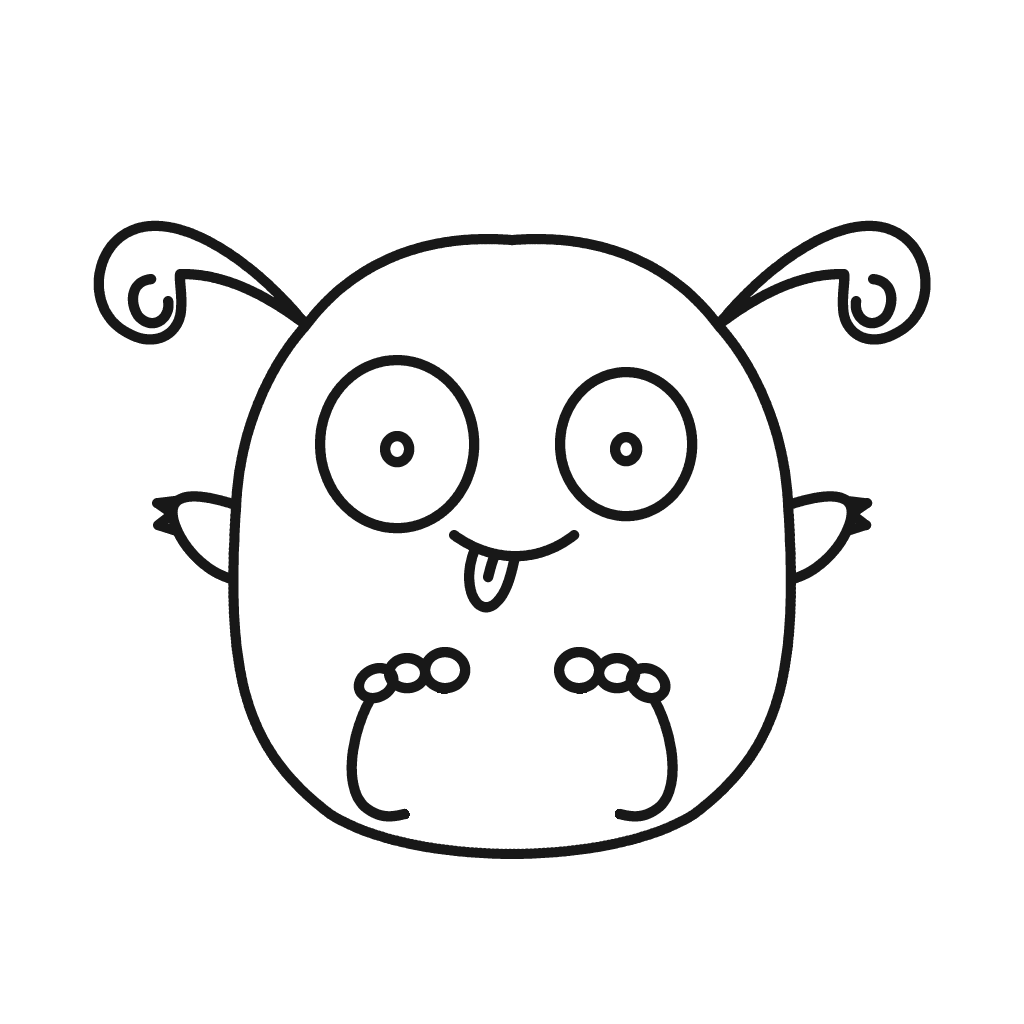
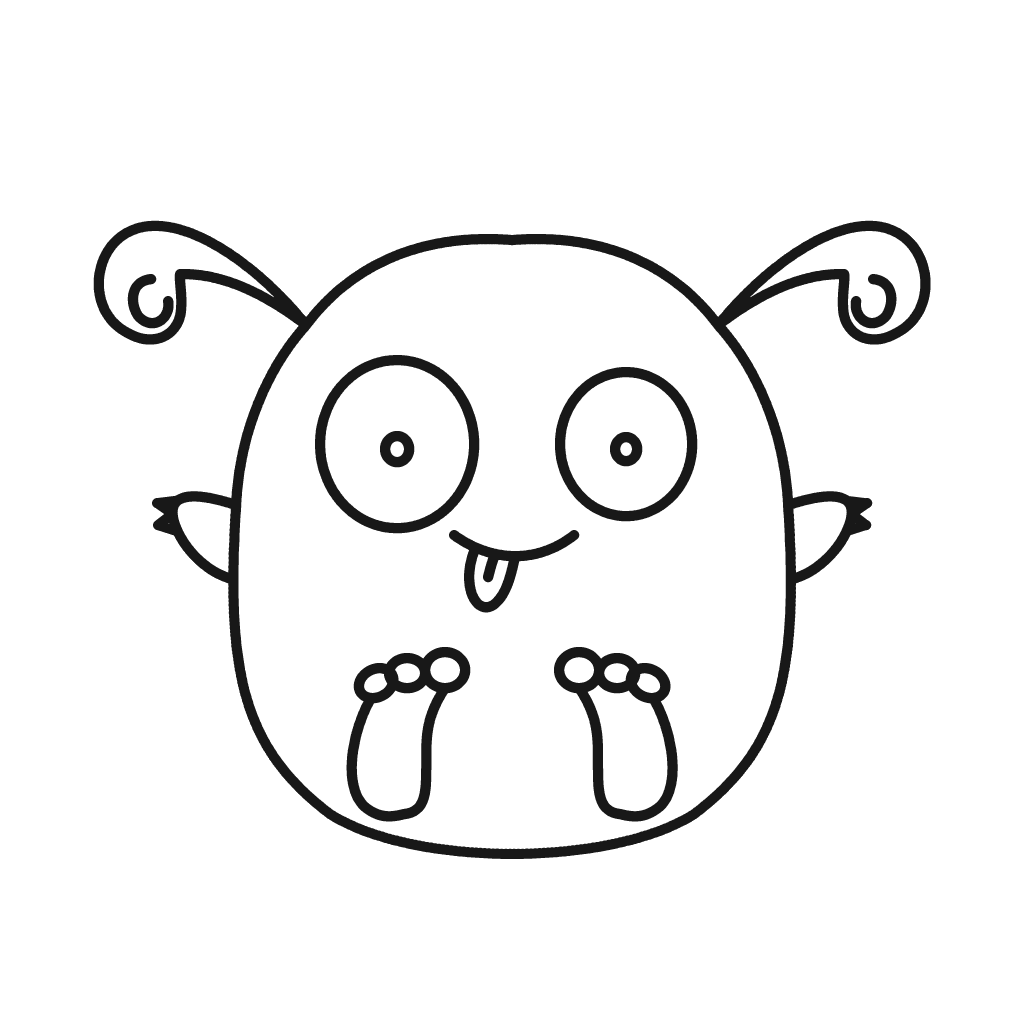
Four selected pictures show the body, a detailed outline, a small foot-outline change and the colored finish. Two previews look similar because the change is small. The full sequence in LittlePaper separates the other additions into drawing steps you can follow at your own pace.
A few things to start with
Paper, a pencil, turquoise and yellow crayons for the body, orange for the horns, and pink for the tongue. Friendly monsters can use any favorite colors. LittlePaper provides a digital canvas and the complete sequence.
A little peek at the drawing
1 / 4
Selected stages · The complete drawing sequence is in the app.
Shapes, character & color
A look at the drawing stages.
Try the shape tips below on paper. When you’re ready to draw along with each small step, continue in LittlePaper.
- 01Selected stage
Begin with a squashy oval
The body starts as one broad rounded oval. Leave room above for curled horns and around the lower edge for feet. A slightly uneven curve gives the character its own shape; it does not need to be a perfect circle.
Begin with a squashy oval · Preview image 1 of 4 - 02Selected stage
Meet the big-eyed monster
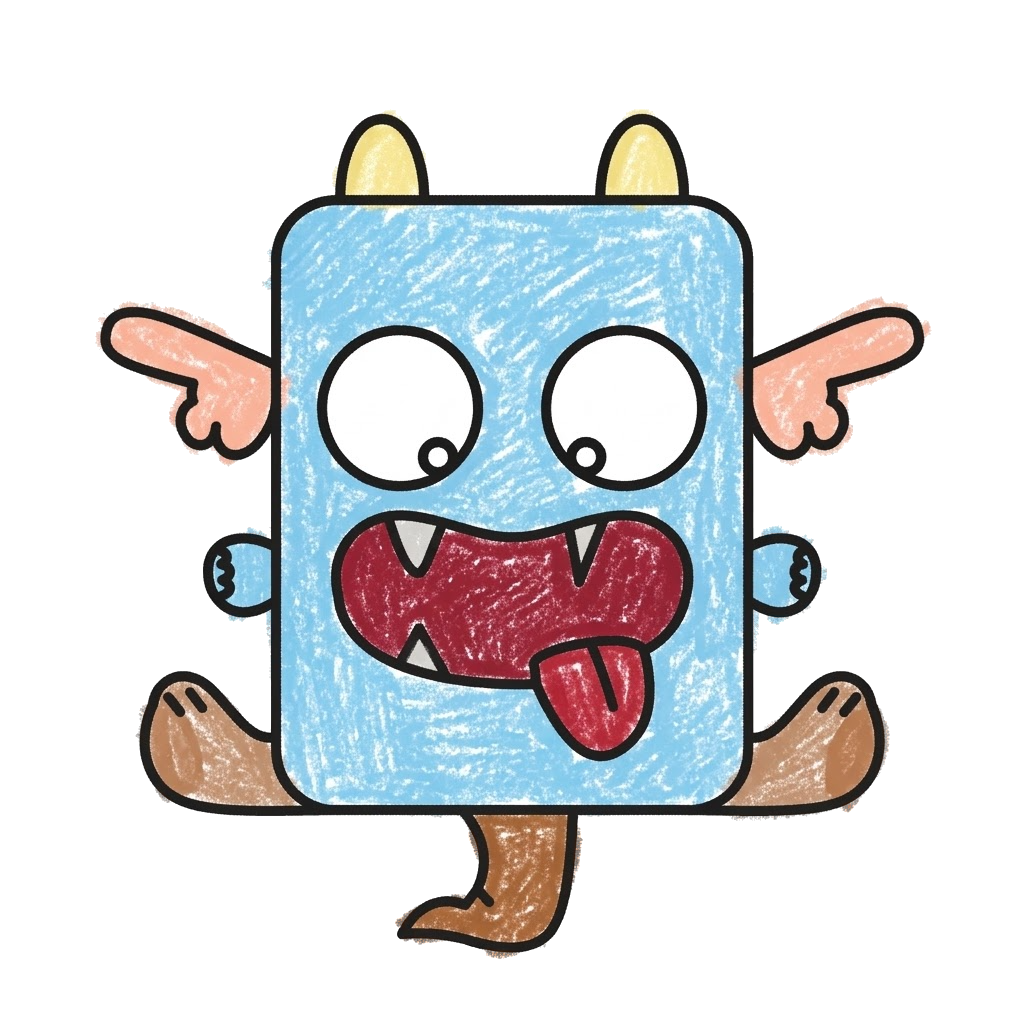
This later preview brings in the curled horns, side ears, huge round eyes and smiling mouth with a tongue. Small toe marks appear near the bottom, where parts of the foot outline are still open. Look at the large features before copying the tiny details.
Meet the big-eyed monster · Preview image 2 of 4 - 03Selected stage
Close the little foot shapes
Compare the bottom of the body with the previous picture: the feet now have closed outer shapes. Most of the drawing stays the same. Small finishing connections like these give each foot a clear boundary for coloring.
Close the little foot shapes · Preview image 3 of 4 - 04Selected stage
Mix cheerful crayon colors
The finished monster combines turquoise and yellow body strokes with orange horns, warm brown feet and a pink tongue. Let the color remain patchy and playful. The complete LittlePaper lesson shows how the face, horns and feet are added along the way.
Mix cheerful crayon colors · Preview image 4 of 4
A little practice goes a long way
Make room for your own ideas.
Keep the first oval wide enough for two large eyes. Oversized eyes and a small tongue help the monster look friendly.
Let the horn curls have open centers so they do not become dark knots. A simple curved loop is easier to read than several tight spirals.
Overlap light turquoise and yellow strokes for a lively body. Use warm colors on the horns and feet to separate the smaller shapes.
A few drawing questions
How do I make a monster look friendly?
Use rounded shapes, large open eyes and a little smile. Curly horns and a tiny tongue feel playful in this design; there is no need to add sharp teeth.
Why are two of the outline previews almost the same?
The later one closes the small foot outlines. It is a finishing detail, so the eyes, horns and body remain in the same positions.
Does a monster need realistic colors?
No. Try light overlapping colors for the body and a contrasting color for the horns. The example mixes turquoise and yellow, but children can invent their own combination.
Where can we draw every part of this monster?
The four pictures are selected previews. Continue with the round monster drawing idea in LittlePaper for the complete guided sequence.
The next little step is yours
Like the idea?
Let’s make it together.
Open this drawing idea in LittlePaper for the complete sequence. Follow a guide, pause when you need, and add your own colors.
Download LittlePaper from the App Store, then open the drawing idea inside the app.
Every step, at your pace.
See the full drawing sequence. Pause, replay, and take another look whenever a shape needs practice.
A guide where you draw.
Trace on the canvas, then try your own lines with a finger or Apple Pencil on a compatible iPad.
Make it yours. Keep the making.
Add crayon color, replay your creation, and give your picture a home in a digital 3D book.