Vehicles · A drawing idea for little artists
How to Draw a Steam Train with Wheels
Build a steam train from a rounded boiler, a box-shaped cab and aligned wheels. Preview four stages and a coordinated crayon finish.
For iPad & iPhone · In-app purchases
These 4 pictures show selected moments from the drawing. For every step in between and a guide on your canvas, get the full lesson in LittlePaper.
What you will learn
Combine a cylindrical boiler, box-shaped cab and aligned wheels in a simple steam train.
Shapes and proportions
Compare the oval front of the boiler with its long side. Keep the cab on the same base and place the wheel centers along one guiding line.
A common mistake
Wheels placed at unrelated heights make the train look as though it is floating or running on uneven ground.
How to fix it
Draw a light line below the base and mark each wheel center before drawing the circles. Keep paired wheel outlines concentric and let the connecting bar pass through their centers.
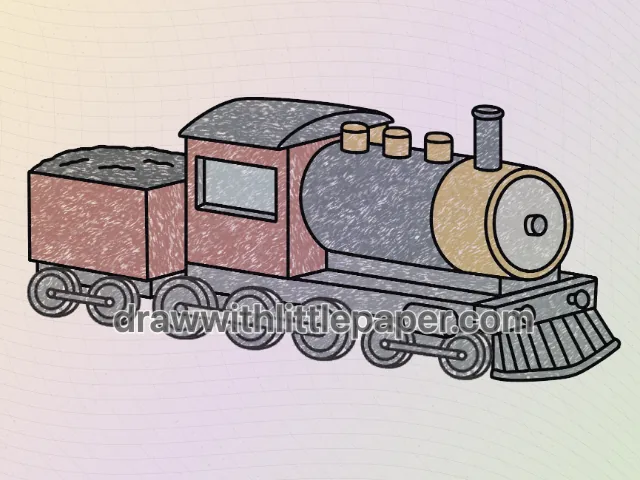
This steam train combines two kinds of forms: a long rounded boiler at the front and a rectangular cab and tender behind it. The visible round boiler end suggests depth, while the wheel centers follow a shared line along the base. Small details work best after these large shapes align.
These four pictures are selected stages, not the complete sequence. The blue guide lines show additions at the illustrated stage. Use the shape notes on paper, or open the full drawing in LittlePaper to follow the smaller steps between these pictures.
A few things to start with
Paper, pencil, red-brown, dark-gray and brass-yellow crayons. A ruler can help with the base, but slightly hand-drawn lines are fine.
A little peek at the drawing
1 / 4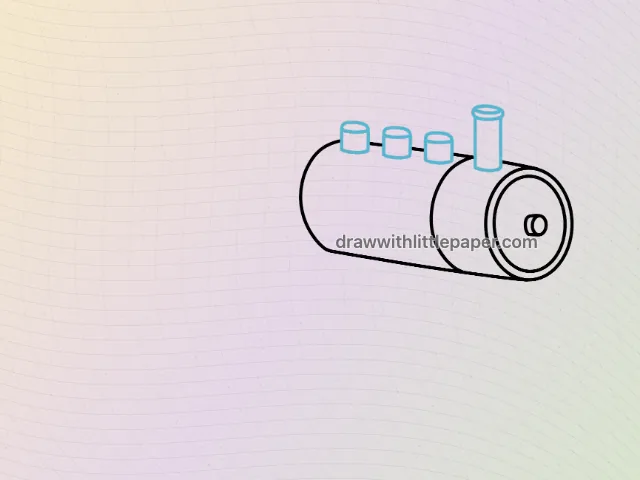
Selected stages · The complete drawing sequence is in the app.
Shapes, character & color
A look at the drawing stages.
Try the shape tips below on paper. When you’re ready to draw along with each small step, continue in LittlePaper.
- 01Selected stage
Boiler and chimneys
This selected stage shows the rounded boiler with its oval front and small cylinders above. Compare the front oval with the long side to keep the depth consistent.
Boiler and chimneys · Preview image 1 of 4 - 02Selected stage
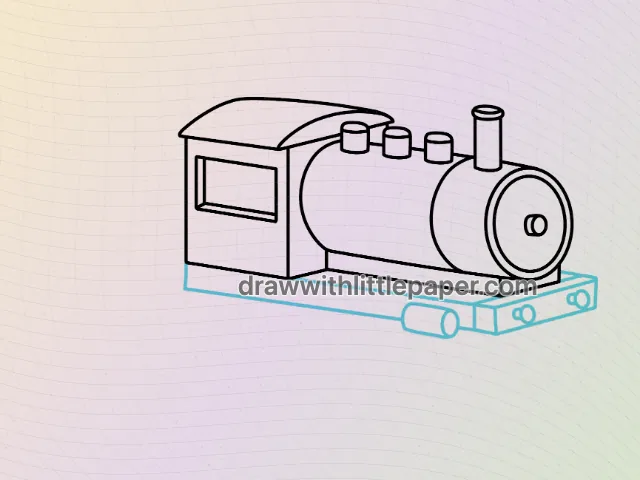
Cab and shared base
In this later image, the cab sits behind the boiler and the long base connects the major forms. Keep the bottom edges aligned before adding the wheel shapes.
Cab and shared base · Preview image 2 of 4 - 03Selected stage
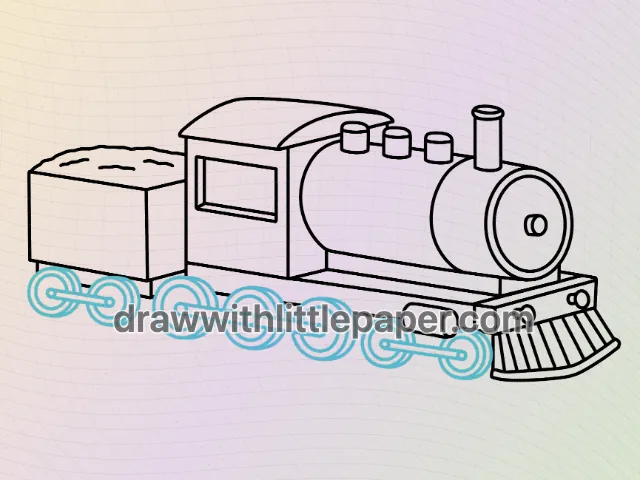
Tender and aligned wheels
The complete outline adds the rear tender and wheel set. Notice the wheel centers following the base and the connecting bars crossing between the larger wheels.
Tender and aligned wheels · Preview image 3 of 4 - 04Selected stage
Coordinate panels and metal
Color the cab and tender red-brown, metal parts gray and the small accents warm yellow. Keep matching wheels consistent, then leave a few light flecks for crayon texture.
Coordinate panels and metal · Preview image 4 of 4
A little practice goes a long way
Make room for your own ideas.
Use coordinated red-brown panels, dark-gray metal and small brass-colored accents. Keep all wheels in the same gray family so they read as one working set.
The next little step is yours
Like the idea?
Let’s make it together.
Open the “How to Draw a Steam Train” drawing idea in LittlePaper for the complete sequence. Follow a guide, pause when you need, and add your own colors.
Download LittlePaper from the App Store, then open the drawing idea inside the app.
Every step, at your pace.
See the full drawing sequence. Pause, replay, and take another look whenever a shape needs practice.
A guide where you draw.
Trace on the canvas, then try your own lines with a finger or Apple Pencil on a compatible iPad.
Make it yours. Keep the making.
Add crayon color, replay your creation, and give your picture a home in a digital 3D book.