Animals · A drawing idea for little artists
How to Draw a Baby Fox
Explore a sitting baby fox in four selected stages, with a broad head, a fluffy tail and warm crayon colors.
For iPad & iPhone · In-app purchases
These 4 pictures show selected moments from the drawing. For every step in between and a guide on your canvas, get the full lesson in LittlePaper.
What you will learn
Use a large head and a small seated body to give a baby fox a young, friendly appearance.
Shapes and proportions
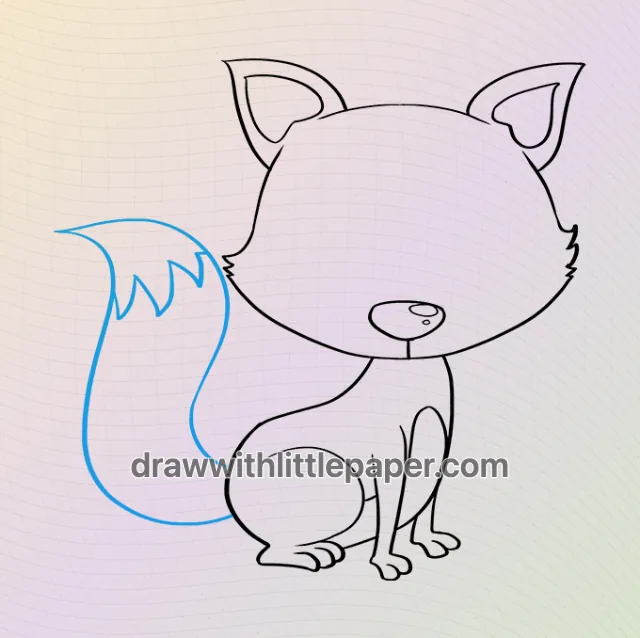
Leave room to the left before drawing the head. Let the tail curve outward and then upward so it balances the broad face.
A common mistake
A tail squeezed tightly against the legs looks thin and makes the left side of the drawing feel cramped.
How to fix it
Lightly mark the outermost point of the tail first. Connect it to the lower body with a broad curve before adding the pointed cream tip.
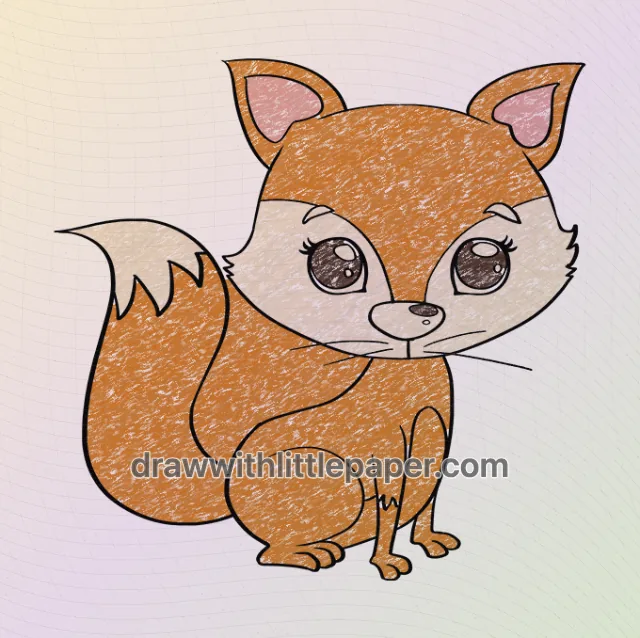
This baby fox balances an oversized head with a small sitting body and a large tail on the left. The tail is a second big shape, not a thin line behind the legs. Cream cheeks and an orange coat make the facial features stand out.
These four pictures are selected stages, not the complete sequence. The blue guide lines show additions at the illustrated stage. Use the shape notes on paper, or open the full drawing in LittlePaper to follow the smaller steps between these pictures.
A few things to start with
Paper, a pencil, and orange, cream, pink and dark-brown crayons. A finger or compatible stylus can be used for the guided version in LittlePaper.
A little peek at the drawing
1 / 4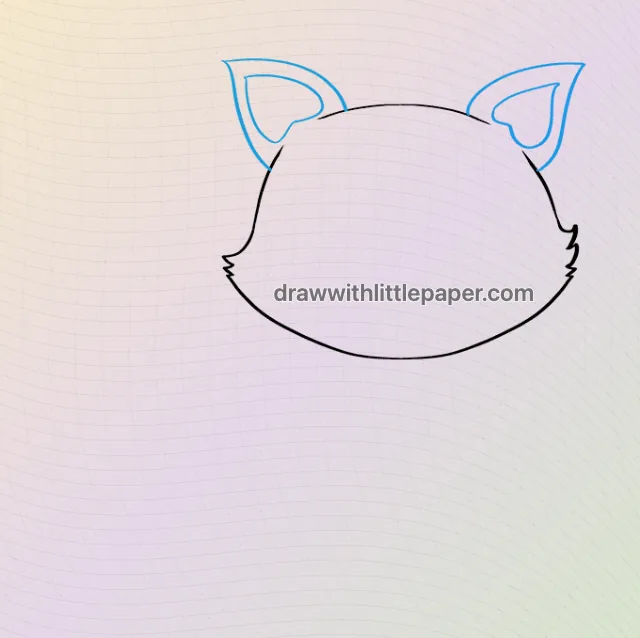
Selected stages · The complete drawing sequence is in the app.
Shapes, character & color
A look at the drawing stages.
Try the shape tips below on paper. When you’re ready to draw along with each small step, continue in LittlePaper.
- 01Selected stage
A broad head and pointed ears
Start with a wide rounded head. Place the ears at its upper corners and repeat a smaller curved triangle inside each ear. Leave room below for the sitting body.
A broad head and pointed ears · Preview image 1 of 4 - 02Selected stage
A sitting body and a fluffy tail
In this later stage, the small body and paws are already present. Notice the large tail added on the left in blue. Its outward curve creates the fluffy silhouette; the full lesson shows the steps between these pictures.
A sitting body and a fluffy tail · Preview image 2 of 4 - 03Selected stage
Finish the expression
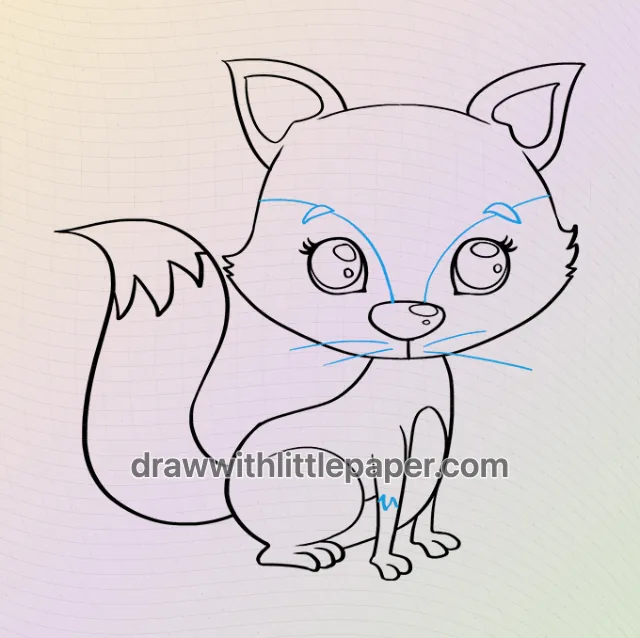
Compare the two eyes in the complete line drawing. Keep them at a similar height above the tiny nose. The blue cheek and chest lines finish the face pattern and fur details.
Finish the expression · Preview image 3 of 4 - 04Selected stage
Orange and cream crayon
Color the body and tail orange, the cheeks and tail tip cream, and both inner ears pink. Dark brown defines the eyes and nose. Keep small highlights light.
Orange and cream crayon · Preview image 4 of 4
A little practice goes a long way
Make room for your own ideas.
Keep both inner ears pink and both eyes at a similar height. Leave small eye highlights white. Use short orange strokes and cream cheeks rather than filling every patch with the same color.
The next little step is yours
Like the idea?
Let’s make it together.
Open the “How to Draw a Baby Fox” drawing idea in LittlePaper for the complete sequence. Follow a guide, pause when you need, and add your own colors.
Download LittlePaper from the App Store, then open the drawing idea inside the app.
Every step, at your pace.
See the full drawing sequence. Pause, replay, and take another look whenever a shape needs practice.
A guide where you draw.
Trace on the canvas, then try your own lines with a finger or Apple Pencil on a compatible iPad.
Make it yours. Keep the making.
Add crayon color, replay your creation, and give your picture a home in a digital 3D book.